
I don't know if any of the other repair techs have encountered this problem, but I have found on many vintage saxes the spring on some keys is too thick to function properly and give the proper "feel" to the key.
The worst offenders are usually the F# key, Bb bis, and the Eb trill key on older models. The problem is that these are "secondary" springs that open a key, but must be overcome by a "primary" spring. Excellent regulation is impossible when these springs are out of balance or maybe proportion is a better term.
The case in point is a Buescher True Tone curved soprano I am restoring. The spring on the F# key is much too thick and stiff. Some of the common remedies are:
-Fill in the spring hole in the post with solder and drill a smaller hole to accept a spring of a smaller diameter. This fix is only possible when there is clearance to drill a hole on the correct axis to the stack.
-Use a smaller spring and force a short piece of spring into the hole with it to make it snug. I don't care for this remedy because it can look amateurish, and it is not easy to do.
I came up with a process to take the spring size that fits into the hole when dovetailed and to turn down the portion that extends past the post to a smaller and more flexible diameter.
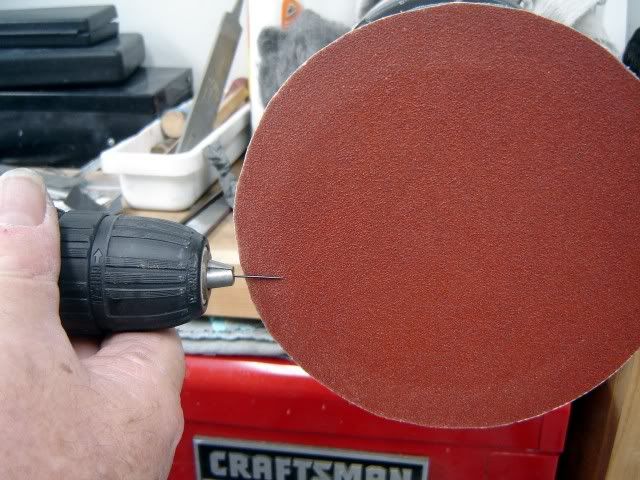
First I chucked the spring into a cordless drill to have just the portion of the spring past the post exposed. Then I made 3 or 4 passes with the spring turning the opposite direction as a sanding disk in the bench motor. This needs to be done smoothly and lightly because the metal is removed very quickly.
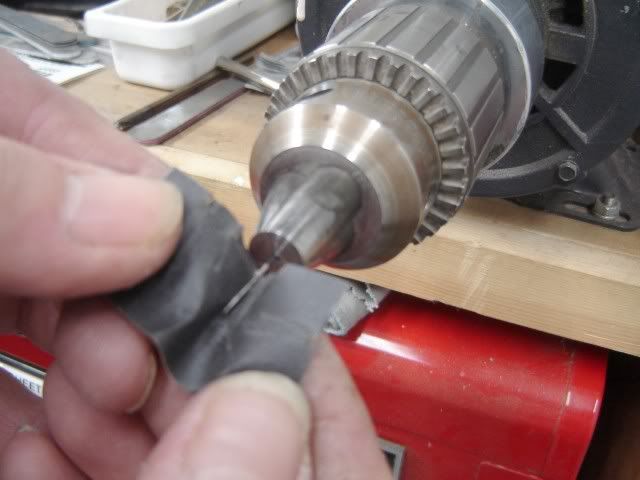
The next step was to smooth and polish the spring by spinning it in the bench motor and using 400 grit followed by 1200 grit sandpaper.
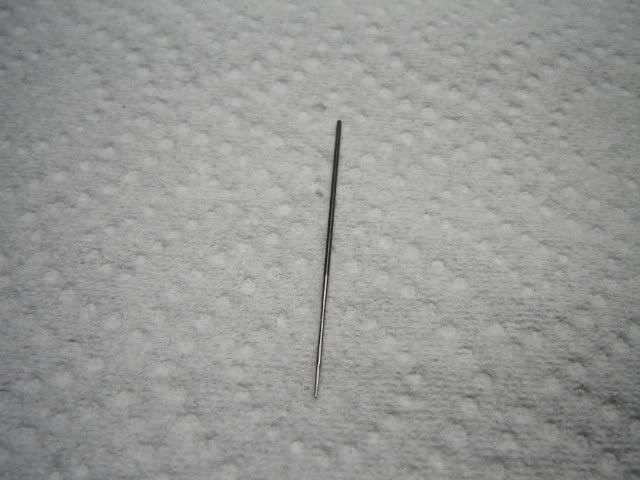
This view is the needle spring after reducing the diameter of the end.
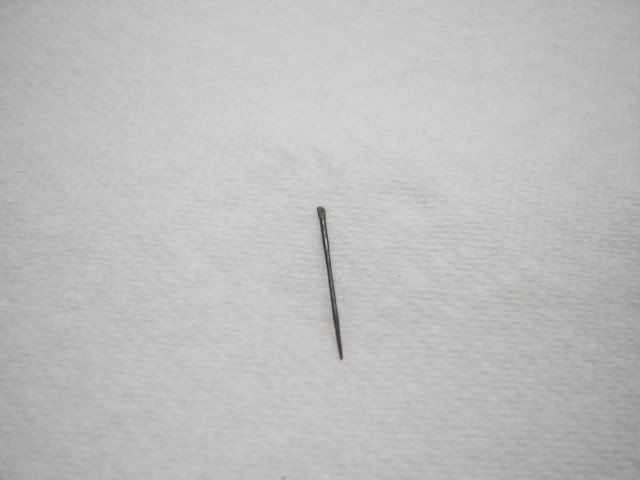
This shows the spring after bluing, cutting to size and dovetailing
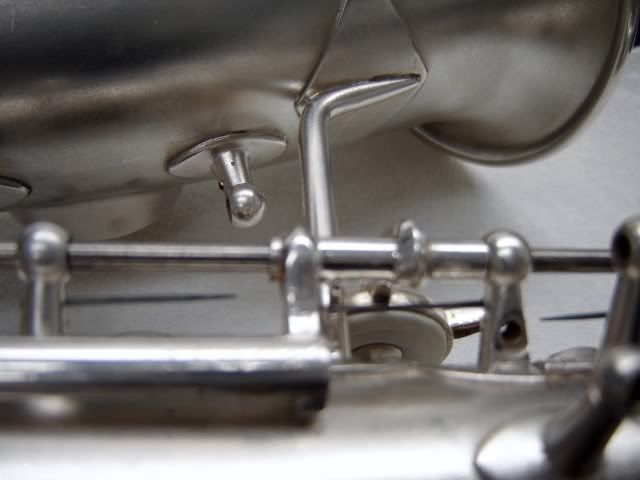
Here is the spring installed on the saxophone. It was originally .032" and taken down to .025" diameter. It gives a much better feel to the F# key which will make regulation much easier to do.
The worst offenders are usually the F# key, Bb bis, and the Eb trill key on older models. The problem is that these are "secondary" springs that open a key, but must be overcome by a "primary" spring. Excellent regulation is impossible when these springs are out of balance or maybe proportion is a better term.
The case in point is a Buescher True Tone curved soprano I am restoring. The spring on the F# key is much too thick and stiff. Some of the common remedies are:
-Fill in the spring hole in the post with solder and drill a smaller hole to accept a spring of a smaller diameter. This fix is only possible when there is clearance to drill a hole on the correct axis to the stack.
-Use a smaller spring and force a short piece of spring into the hole with it to make it snug. I don't care for this remedy because it can look amateurish, and it is not easy to do.
I came up with a process to take the spring size that fits into the hole when dovetailed and to turn down the portion that extends past the post to a smaller and more flexible diameter.
First I chucked the spring into a cordless drill to have just the portion of the spring past the post exposed. Then I made 3 or 4 passes with the spring turning the opposite direction as a sanding disk in the bench motor. This needs to be done smoothly and lightly because the metal is removed very quickly.
The next step was to smooth and polish the spring by spinning it in the bench motor and using 400 grit followed by 1200 grit sandpaper.
This view is the needle spring after reducing the diameter of the end.
This shows the spring after bluing, cutting to size and dovetailing
Here is the spring installed on the saxophone. It was originally .032" and taken down to .025" diameter. It gives a much better feel to the F# key which will make regulation much easier to do.
") I found that "tapering" the removal of the metal from the post area to the tip produced a lighter spring with more structural integrity.
I found that "tapering" the removal of the metal from the post area to the tip produced a lighter spring with more structural integrity.